 |
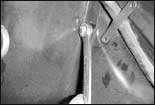
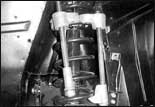
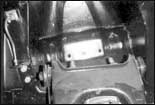
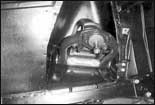
| 1...To install these arms we begin by removing the bolts that
hold on the outer spring shield. |
|
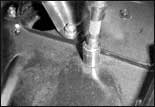 |
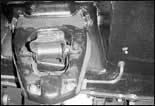
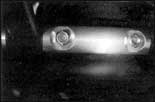
| 2...Bolts by shock tower also hold the shield in place. |
|
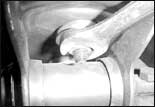 |
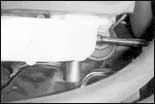
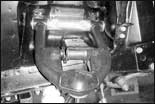
| 3...The lower shock nuts need removed. |
|
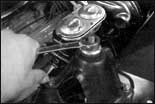 |
| 4...The upper shock nut also needs to come off. |
|
 |
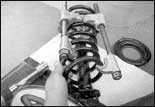
| 5...With an external spring compressor we can remove the coil
spring without removing the upper shock tower. |
|
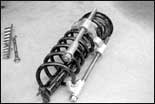 |
| 6...The upper spring cup, the spring and shock will all come
out together. |
|
 |
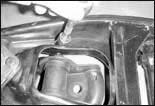
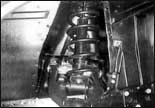
| 7...Our upper a-arm is exposed and ready to be removed. |
|
 |
| 8...Two nuts beside the engine on the inner fender tower hold
the upper a-arm in place. |
|
 |
| 9...The arm can be removed. |
|
 |
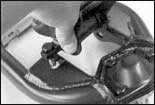
| 10...If the lower sprting mount is in good shape remove it.
This is done by removing the two nuts. |
|
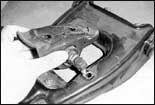 |
| 11...The lower spring mount will lift off the a-arm. |
|
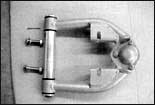 |
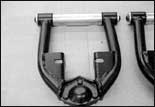
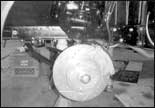
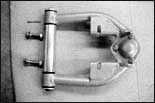
| 12...The new CPP tubular upper a-arms are great looking and
built tough. |
|
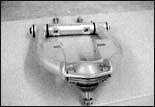 |
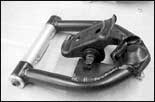
| 13...Each comes with CPP's own upper ball joint. The control
arm shaft is larger than stock and made to be strong. |
|
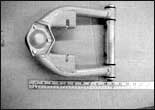 |
| 14...Stock spring perches will bolt right on. Optional coil
over shocks can be added easily because of the unique design. |
|
 |
| 15...CPP custom bushings will not deflect under load. These
bolts are pre installed and not ment to be removed. |
|
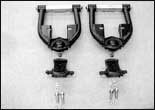 |
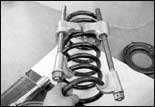
| 16...We painted the silver power coated a-arms to go with
the look of our project. Pictured are the a-arms, lower shock mounts and
mounting hardware. |
|
 |
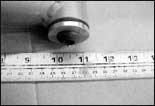
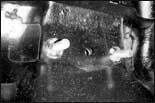
| 17...The lower spring mounts bolt into these sloted holes. |
|
 |
| 18...The a-arms were designed to accept any avaiable lower
shock mount available. |
|
 |
| 19...Our completed assembly ready to install. |
|
 |
| 20...Push the supplied bolts thru the inner fender toward
the outside of the car. |
|
 |
| 21...Install the a-arm shaft over the bolts. |
|
 |
| 22...The supplied locking nuts will hold the shaft tight to
the inner fender. |
|
 |
| 23...Installation is as simple as that. |
|
 |
| 24...Recompress the coil spring. |
|
 |
| 25...Install the spring like it came out with the upper spring
cup and shock. |
|
 |
| 26...Reattach the shock and check everything for problems. |
|
 |
| 27...The new a-arm will serve you well when combined with
CPP's lower a-arm kit. |
|
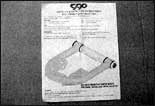 |
| 28...CPP includes a nice instruction sheet with a good drawing
of the a-arm. |
|
 |
| 29...The new CPP upper a-arms are just what the Nova doctor
ordered. By the time you read this product will be ready to ship. After
installing the mini subframe and these upper a-arms and disc brakes we had
the front end aligned. The alignment went in very well. I drove the car
200 miles one Sunday back and forth to a church meeting across PA. The Nova
drove great! If you would like more details call Wayne! |
|
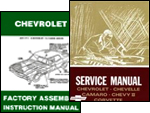 |
| It's always best to have shop and assembly manuals on hand
to make sure your installation is correct and to make the project as easy
as possible. We recommend factory manuals, available at Greg's
Automotive |
|
|

